Introduction
As an online retailer, you understand the importance of having a seamless and secure payment process for your customers. Magento, an open-source e-commerce platform, offers a variety of payment gateways out-of-the-box, including PayPal and Stripe. However, if you’re looking to offer a custom payment solution to your customers, building a custom payment gateway in Magento may be the best option for you.
Building a custom payment gateway in Magento may sound intimidating, but with the right knowledge and tools, it can be a straightforward process. In this article, we’ll walk you through the step-by-step process of building a custom payment gateway in Magento, so you can offer your customers a seamless and secure checkout experience.
Preparing Your Environment
Before we dive into the technical steps of building a custom payment gateway in Magento, it’s important to ensure that your environment is set up correctly. Here are a few things you’ll need to have in place before you get started:
- A development environment: Building a custom payment gateway in Magento requires a development environment, separate from your live production site, where you can make changes and test them without affecting your customers. You can set up a development environment on your local machine using software like XAMPP or MAMP, or on a remote server.
- A Magento installation: You’ll need to have a working installation of Magento on your development environment. If you haven’t already done so, you can download the latest version of Magento from the official website and install it on your development environment.
- A merchant account: To process payments through your custom payment gateway, you’ll need to have a merchant account with a payment processor. Some popular payment processors include Authorize.net, Braintree, and PayPal.
Once you have these three things in place, you’re ready to start building your custom payment gateway in Magento.
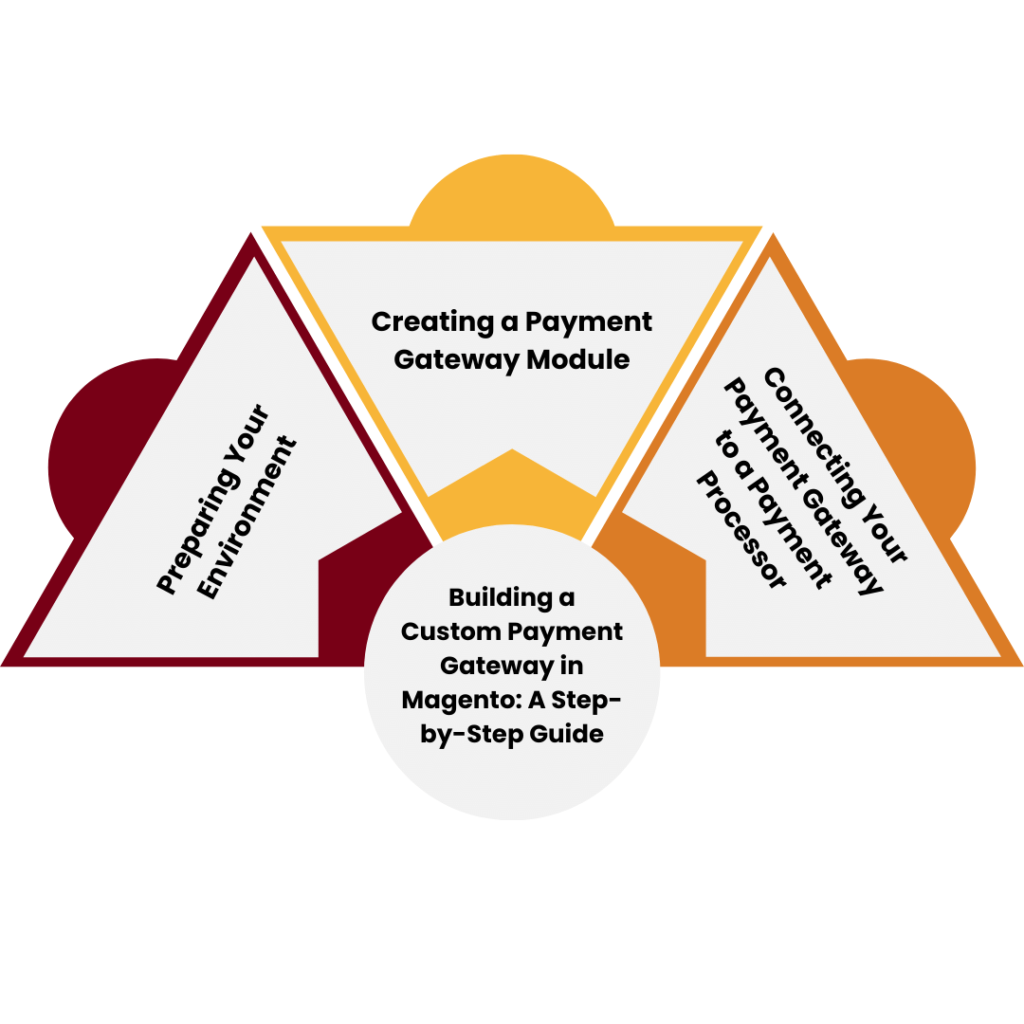 Creating a Payment Gateway Module
The first step in building a custom payment gateway in Magento is to create a payment gateway module. A payment gateway module is a Magento extension that adds a new payment method to the checkout process. Here’s how to create a payment gateway module in Magento:
- Create a new directory: In your Magento installation, navigate to the app/code directory and create a new directory with the name of your payment gateway. For example, if you’re building a payment gateway for ABC Payments, you would create a directory called ABCPayments.
- Create a module file: Inside your new directory, create a module file called registration.php. This file will tell Magento about your payment gateway module and its location. Here’s an example of what the file should look like:
<?php MagentoFrameworkComponentComponentRegistrar::register( MagentoFrameworkComponentComponentRegistrar::MODULE, ‘ABCPayments_PaymentGateway’, __DIR__ );
Want to offer your customers a seamless payment experience on your Magento store? Contact us to create a custom payment gateway!
In this example, we’re registering a new Magento module called ABCPayments_PaymentGateway, and telling Magento that the module is located in the current directory (DIR).
- Create a module configuration file: In the same directory, create a new file called module.xml. This file will contain information about your payment gateway module, such as its name and version number. Here’s an example of what the file should look like:
<?xml version=”1.0″?> <config xmlns_xsi=”http://www.w3.org/2001/XMLSchema-instance” xsi_noNamespaceSchemaLocation=”urn:magento:framework:Module/etc/module.xsd”> <module name=”ABCPay
- Create a payment gateway model: Inside your new directory, create a subdirectory called Model and create a new file called Payment.php. This file will contain the logic for your payment gateway. Here’s an example of what the file should look like:
A custom payment gateway can help streamline the checkout process on your Magento store. Let us build one for you! Contact us today.
In this example, we’re creating a new payment gateway model called ABCPaymentsPaymentGatewayModelPayment, which extends Magento’s AbstractMethod class. We’re setting the payment gateway code to ‘abcpayments_paymentgateway’, indicating that this is the code that will be used to identify the payment method. We’re also setting the payment gateway to be a gateway method (as opposed to an offline method) and indicating that it can authorize payments. Finally, we’re implementing the authorize method, which contains the logic for authorizing payments.
- Enable your payment gateway module: To enable your payment gateway module, navigate to your Magento admin panel and go to Stores > Configuration > Sales > Payment Methods. You should see your new payment method listed under the “Other Payment Methods” section. Click on it to expand the settings, then set “Enabled” to “Yes” and fill in the rest of the required fields.
Congratulations! You’ve now created a custom payment gateway module in Magento. However, your payment gateway won’t work yet, because you haven’t connected it to a payment processor. Let’s fix that next.
Connecting Your Payment Gateway to a Payment Processor
To process payments through your custom payment gateway, you’ll need to connect it to a payment processor. There are many payment processors to choose from, but for the purposes of this article, we’ll use Authorize.net as an example.
Don’t settle for a generic payment gateway on your Magento store. Work with us to create a custom solution that fits your business needs.
- Sign up for an Authorize.net account: If you don’t already have an Authorize.net account, you’ll need to sign up for one. Go to the Authorize.net website and follow the instructions to create an account.
- Obtain your API login ID and transaction key: Once you have an Authorize.net account, log in to the Authorize.net Merchant Interface and navigate to Account > Settings > Security Settings > API Credentials & Keys. Here, you’ll find your API login ID and transaction key, which you’ll need to connect your payment gateway to Authorize.net.
- Configure your payment gateway: In your payment gateway model (app/code/ABCPayments/PaymentGateway/Model/Payment.php), add the following code to the authorize method:
In this code, we’re setting the API login ID and transaction key to the values you obtained from Authorize.net. We’re also setting the transaction type to “AUTH_CAPTURE”, indicating that we want to authorize and capture the payment. We’re getting the order amount and currency code from the payment object, and setting the post URL to the Authorize.net test server URL.
Next, we’re setting up an array of post values to send to Authorize.net, including the API login ID, transaction key, transaction type, payment method, credit card number and expiration date, order amount and currency code. We’re then building a query string from this array and sending it to Authorize.net using cURL. Finally, we’re parsing the response from Authorize.net and either setting the transaction ID and closing the transaction if the payment was successful, or throwing a localized exception if there was an error.
- Test your payment gateway: To test your payment gateway, place an order on your Magento website using the payment method you just created. Make sure to use a test credit card number (such as 4111 1111 1111 1111) and a future expiration date. If everything is set up correctly, your payment should be processed successfully.
FAQs
Q: Can I use a different payment processor besides Authorize.net?
A: Yes, you can use any payment processor that provides an API for processing payments. You’ll need to modify the code in your payment gateway model accordingly.
Q: Is it difficult to create a custom payment gateway in Magento?
A: It can be challenging, especially if you’re not familiar with Magento development. However, with the right resources and some patience, it’s definitely doable
Conclusion
Creating a custom payment gateway in Magento can seem daunting at first, but with the right resources and a little bit of know-how, it’s definitely achievable. By following the steps outlined in this guide, you can create a payment gateway that integrates seamlessly with your Magento website and provides your customers with a secure and convenient way to pay.
Remember to test your payment gateway thoroughly before deploying it to your live website, and to adhere to all relevant security and compliance standards to protect your customers’ sensitive information.
With a custom payment gateway in place, you can streamline your checkout process, reduce cart abandonment, and provide your customers with a positive shopping experience that keeps them coming back for more.
Now that you know how to build a custom payment gateway in Magento, it’s time to put your skills to the test and start creating your own. Happy coding!
Ready to take your Magento store’s payment options to the next level? Our team can help you build a custom payment gateway. Reach out to us now!
Additional Resources
If you’re looking for more information on Magento development, payment gateway integration, or e-commerce in general, check out these helpful resources:
- Magento DevDocs: The official documentation for Magento development, including tutorials, guides, and reference materials.
- Magento Stack Exchange: A community-driven Q&A site where you can ask and answer questions about Magento development.
- Authorize.net Developer Center: A resource for developers looking to integrate Authorize.net into their e-commerce websites.
- Stripe Developer Docs: Documentation for Stripe, another popular payment gateway that integrates with Magento.
- PayPal Developer Docs: Documentation for PayPal, another popular payment gateway that integrates with Magento.
By leveraging these resources and staying up to date on the latest trends and best practices in e-commerce development, you can create a custom payment gateway that meets your business’s unique needs and helps you achieve your goals. Good luck!
Read our expert written article on How to Customize Your Magento Theme


-p-500")