Introduction
The E-commerce industry is booming, and every entrepreneur is looking for ways to expand their business globally. One of the most significant barriers that hinder this expansion is language. To cater to a global audience, your website must speak their language. A Magento Multilingual E-commerce website can help you reach a wider audience, increase customer engagement, and boost your revenue.
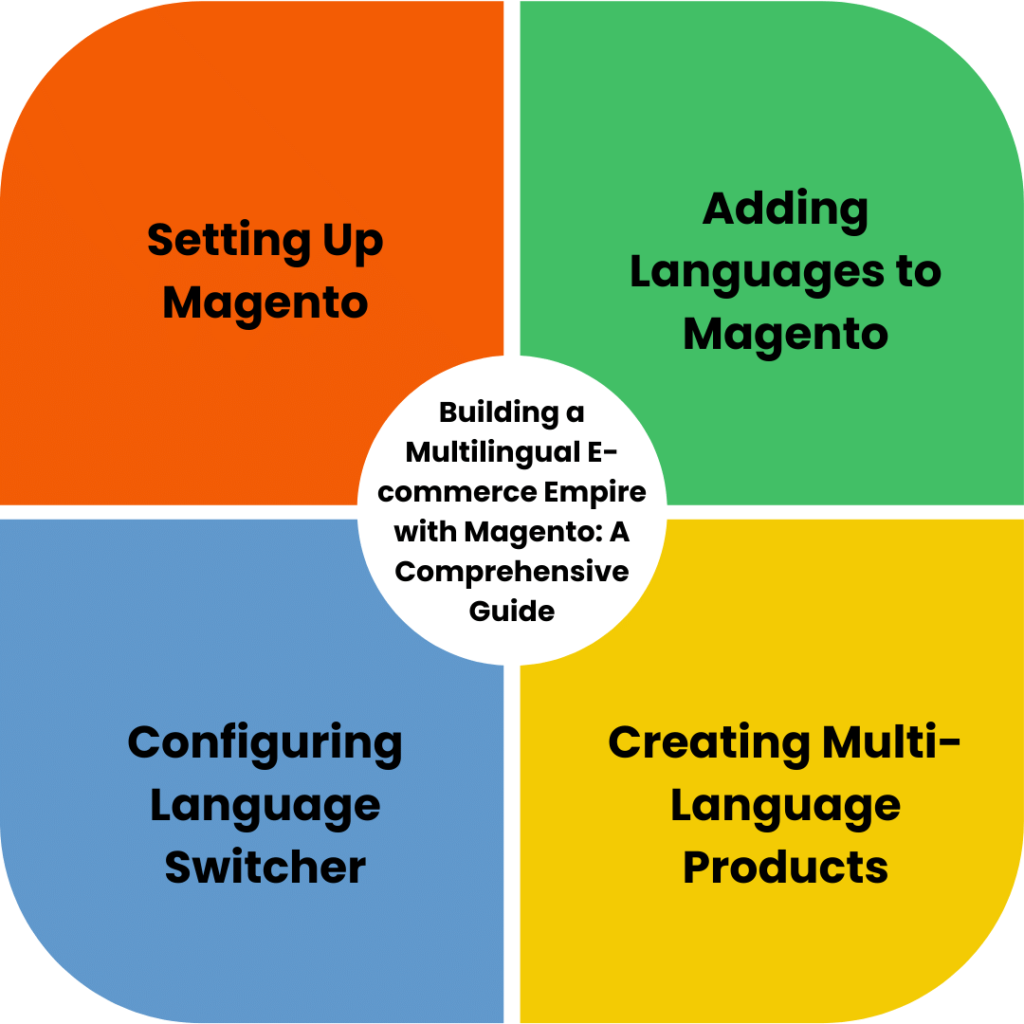
Magento is one of the most popular e-commerce platforms that offer robust features to build a multilingual store. In this guide, we’ll walk you through the step-by-step process of creating a multi-language e-commerce store in Magento.
Setting Up Magento Multilingual E-commerce Store
Before we dive into the language settings, let’s start with the basic setup of Magento.
Installing Magento
Magento offers two editions: Community Edition and Enterprise Edition. You can download the Community Edition from the Magento website for free. Once you’ve downloaded the package, follow these steps to install Magento:
- Upload the Magento files to your server
- Create a new database and user for Magento
- Run the Magento installer
- Configure your store
Configuring Store Information
After the installation process is complete, you can configure your store information. This includes the store name, address, contact information, and other details. Go to System > Configuration > General > Store Information to make changes.
 Adding Languages to Magento
Magento offers support for multiple languages, and you can add as many languages as you want to your store. Here’s how you can add languages to your Magento store:
Step 1: Install Language Packs
Magento uses language packs to add support for new languages. You can download the language packs from the Magento Marketplace or use third-party providers. Once you’ve downloaded the language pack, follow these steps to install it:
- Unzip the language pack files
- Copy the files to the app/locale folder of your Magento installation
- Flush the Magento cache
Step 2: Enable Language
After you’ve installed the language pack, you need to enable it. Follow these steps to enable a language:
- Go to System > Configuration > General > Locale Options
- Choose the language you want to enable from the list of available languages
- Save the configuration
Step 3: Translate Content
After you’ve enabled a language, you need to translate the content of your website. Magento offers a built-in translation tool that you can use to translate the content. Follow these steps to translate content:
- Go to System > Import/Export > Import
- Choose the language pack you want to use
- Upload the translation CSV file
- Select the scope of the translation (either global or theme)
- Run the import process
Creating Multi-Language Products
Now that you’ve added multiple languages to your store, you need to create multi-language products. Follow these steps to create multi-language products:
Step 1: Create Attribute
To create multi-language products, you need to create a new attribute for each language. Follow these steps to create an attribute:
- Go to Catalog > Attributes > Manage Attributes
- Click on Add New Attribute
- Set the Attribute Properties and choose the Input Type as Dropdown or Multiple Select
- Save the attribute
Step 2: Add Attribute to Product
After you’ve created the attribute, you need to add it to your product. Follow these steps to add the attribute:
- Go to Catalog > Manage Products
- Click on the product you want to add the attribute to
- Go to the General tab and choose the attribute from the dropdown list
- Enter the translated values for the attribute in each language
- Save the product
Configuring Language Switcher
The language switcher allows users to switch between different languages on your website. Here’s how you can configure the language switcher:
Step 1: Add Language Switcher Block
To add a language switcher block, follow these steps:
- Go to CMS > Static Blocks
- Click on Add New Block
- Enter a Block Title and Identifier
- Insert the following code in the Content section:
- Save the block
Step 2: Add Language Switcher to Header
To add the language switcher to the header of your website, follow these steps:
- Go to CMS > Pages
- Click on Home Page
- Insert the following code in the Header section:
- Save the page
FAQS
Q1. Can I add more than two languages to my Magento store?
A: Yes, you can add as many languages as you want to your Magento store.
Q2. Do I need to translate all the content on my website?
A: It depends on the content that you want to make available in different languages. You can choose which content to translate and which content to keep in the default language.
Q3. Can I use third-party translation services for content translation?
A: Yes, you can use third-party translation services for content translation. However, make sure to review the translations before publishing them on your website.
Conclusion
Creating a multilingual e-commerce store in Magento can help you reach a wider audience and increase your revenue. With Magento’s robust language support and translation tools, you can easily add multiple languages to your store and create multilingual products. Follow the steps outlined in this guide to build a multilingual e-commerce empire with Magento. Don’t forget to configure the language switcher to make it easy for your customers to switch between different languages.
Read article on How to Set Up Multiple Stores in Magento: A Comprehensive Guide


-p-500")